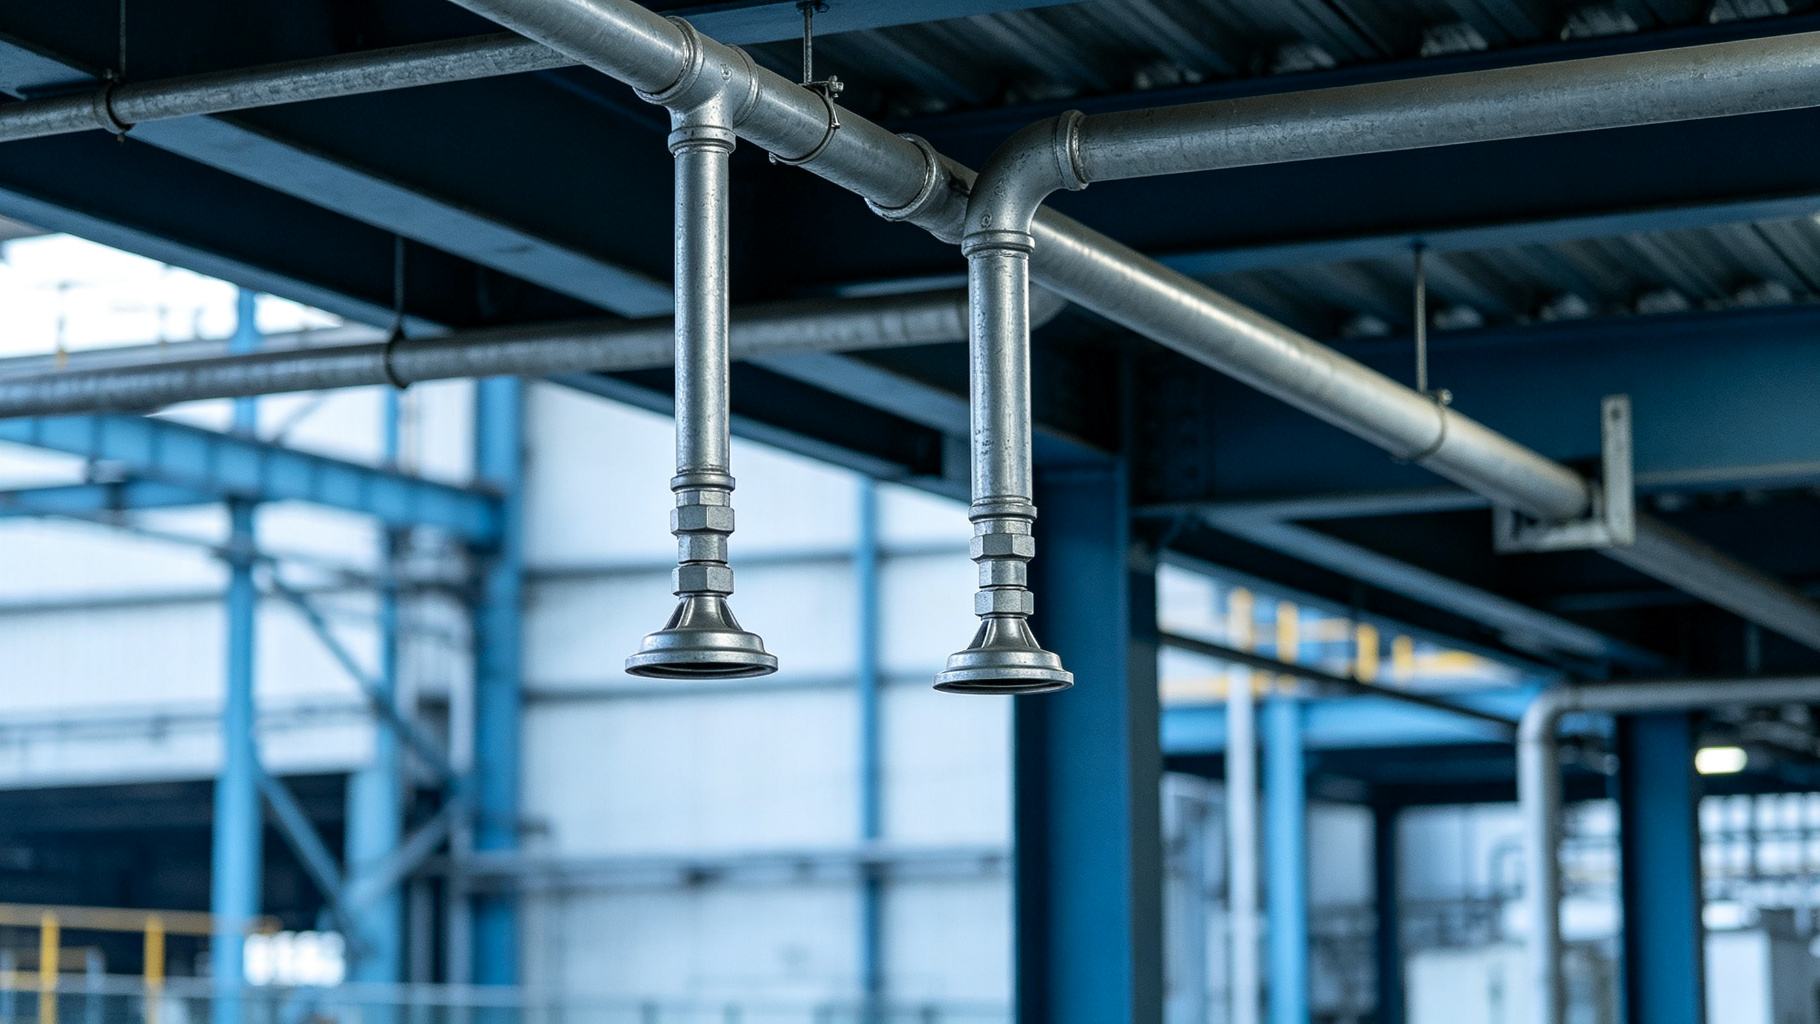
steel-roof-ice-dam-snow-load-mitigation
Steel Roof Ice Dam & Snow Mitigation: Heating Cables & Snow Guards

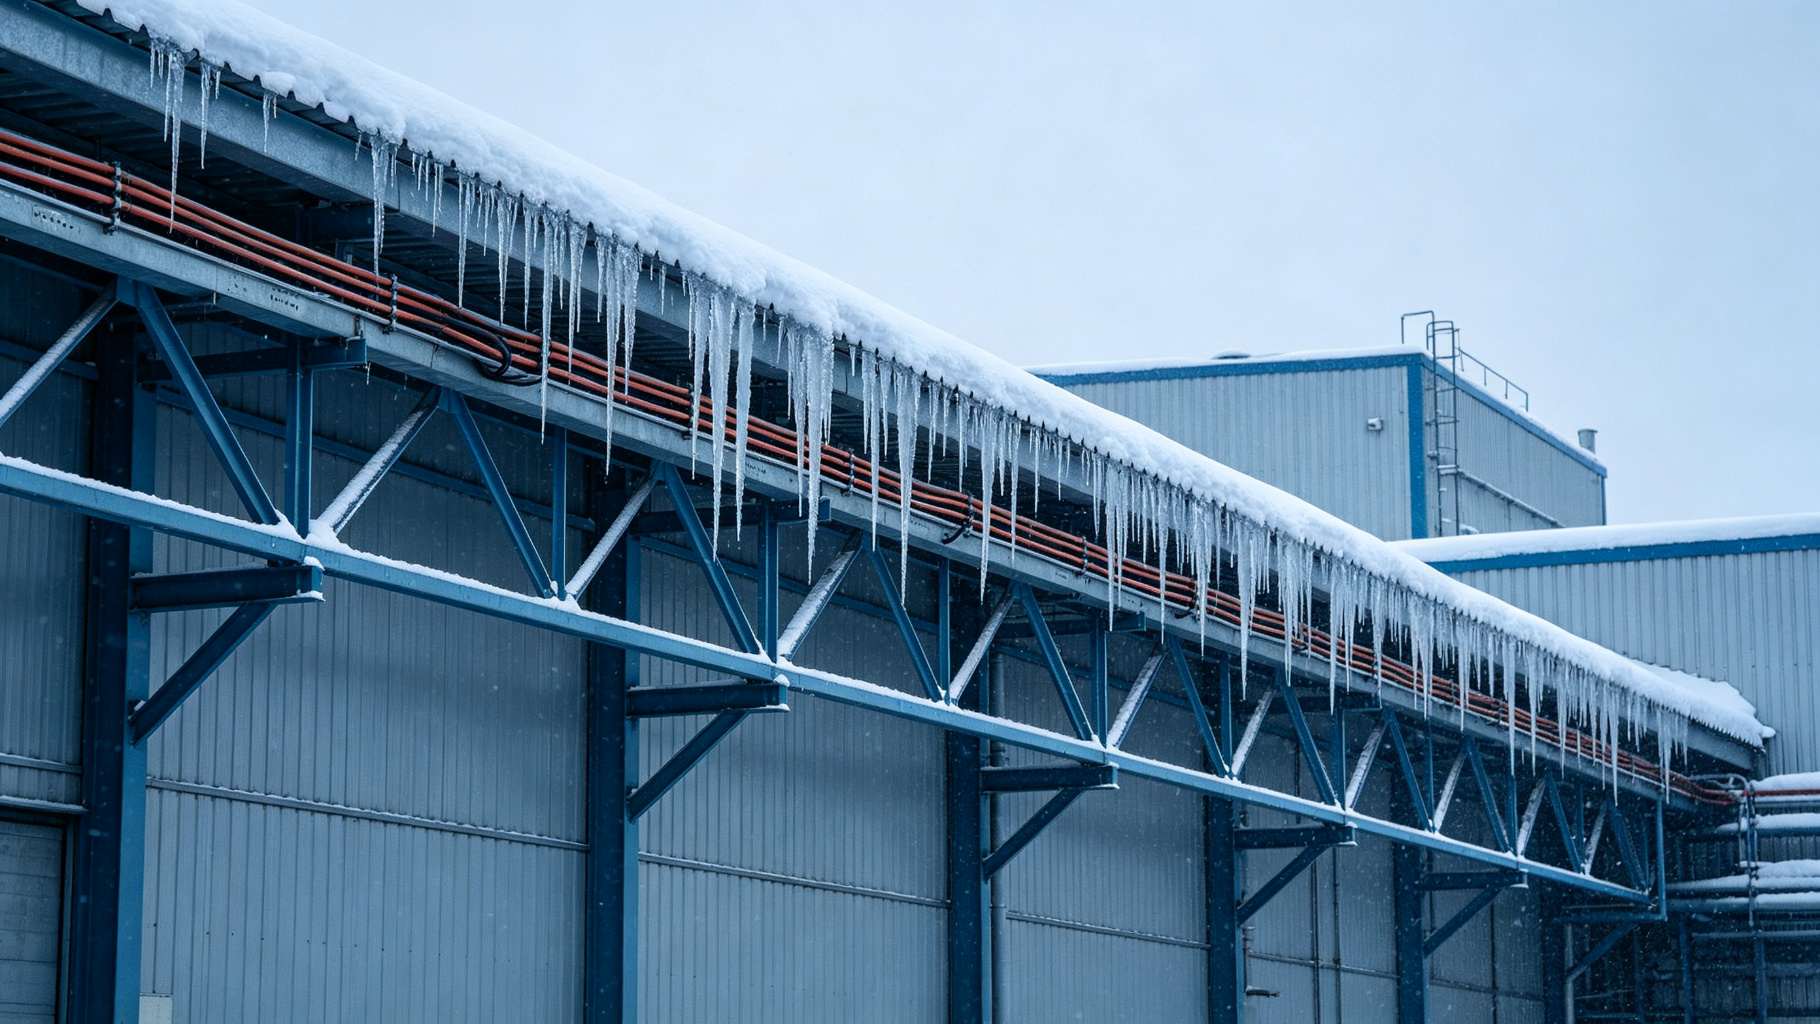
Winter view of a steel building roof eave: icicles hanging from standing-seam panels, with a stainless-steel pipe snow guard installed along the eave.
Your steel roof was engineered to carry 30 psf of snow. But when warm interior air melts the snow on the upper roof, it runs down to the cold eave, refreezes, and builds an ice dam that backs water under the roof panels. The structure survived the snow load—the roof failed from ice-dam leakage. Steel roof ice dam snow mitigation is about controlling how snow melts, refreezes, and slides—through heating cables, snow guards, and de-icing systems—not about recalculating the snow load. This guide covers ice dam formation on steel roofs, heating cable selection, snow retention systems, gutter heat trace, and safe manual removal. Our snow load design article explains how to size the roof structure for ASCE 7. This article explains what to do after the building is up: prevent the ice dam from forming in the first place.
How Ice Dams Form on Steel Roofs
An ice dam forms through a repeating melt-refreeze cycle. Interior warmth conducts through the roof deck, melting snow on the upper and warmer roof area. The meltwater runs downslope toward the eave. At the eave, where the roof is unheated and cold-soaked, the water refreezes. Over several freeze-thaw cycles, the ice grows into a dam that blocks drainage. Water pools behind the dam and seeps upward through roof panel seams, fastener penetrations, and flashing gaps.
Steel roofs are more vulnerable to ice dams than concrete roofs, and the reason is thermal mass. A concrete roof deck absorbs heat slowly and releases it gradually, keeping the eave warmer for longer. A thin steel roof panel has almost no thermal mass: the eave cools down to ambient temperature within hours after sunset, so meltwater refreezes rapidly. Add the multiple lap joints in a standing-seam or R-panel roof, and the leak path is already there—waiting for the ice dam to force water into it.
The severity depends on insulation. A steel building with under-insulated roof cavity (below R-20) loses interior heat upward through the roof, melting snow at the ridge. A properly insulated roof (R-30 or above) keeps the entire roof deck cold, so snow stays put and gradually sublimates or melts uniformly—no concentrated runoff at the eave. This is the first principle of steel roof snow and ice management: reduce the heat source, and the dam has nothing to build from.
For the structural side of snow loading, see snow load design. For deeper analysis of drift and unbalanced snow, read steel structure snow load deep dive. For roof system selection fundamentals, see roof system.
Roof Heating Cables and Heat Trace Systems
Steel roof ice dam snow mitigation relies on heating cables as the primary active defense. The cables melt a narrow channel along the eave and through gutters, allowing meltwater to drain before it refreezes.
Two cable types are used. Self-regulating heating cable varies its power output based on ambient temperature—more output when cold, less when warm—preventing overheating and saving energy. Power output ranges 10–50 W/m (3–15 W/ft). Constant-wattage cable delivers fixed output and requires a separate thermostat; it is cheaper per meter but less energy-efficient. Voltage is typically 120V or 240V, selected by circuit length and load.
Installation locations follow the water path:
- Along the eave edge 300–600 mm (12–24 in) in a serpentine loop.
- Inside gutters and downspout outlets to prevent ice blockage.
- Across roof valleys where water converges from two slopes.
- At pipe penetrations where flashing meets the roof panel.
Heating cables are a remediation, not a replacement for insulation. The correct hierarchy is: first, bring roof insulation to R-30 or higher (R-30 ≈ 5.3 m²·K/W) to stop heat loss through the deck. Then, use cables only at the eave and gutters as a backup. Under-insulated buildings require cables over a much larger roof area, increasing energy costs dramatically.
Table 1 summarizes heating cable specifications. For thermal design principles, see steel building insulation thermal design. For the purlin systems that support roof panels, read steel purlin system.
Table 1: Roof Heating Cable Specifications
| Cable Type | Power (W/m / W per ft) | Voltage | Typical Length | Notes |
|---|---|---|---|---|
| Self-regulating | 10–30 / 3–9 | 120V / 240V | 50–300 m (164–984 ft) | Auto-adjusts; energy-efficient |
| Self-regulating (heavy) | 30–50 / 9–15 | 240V | 30–200 m (98–656 ft) | Heavy snow regions |
| Constant wattage | 20–40 / 6–12 | 120V / 240V | 40–250 m (131–820 ft) | Cheaper; requires thermostat |
| Gutter trace cable | 10–30 / 3–9 | 120V / 240V | Per linear meter of gutter | Matches gutter dimensions |
Per IEEE 515 standards, heating circuits should be protected by GFCI and controlled by a combination thermostat and moisture sensor that activates only near freezing with present meltwater.
Snow Guards and Snow Retention Systems
On a steel roof with pitch greater than 3:12, accumulated snow can slide off as a single slab—a roof avalanche. This is the second pillar of steel roof ice dam snow mitigation: stop the snow from leaving all at once. The falling snow and ice can injure people, damage equipment, crush vehicles, and destroy doors and windows. Snow guards (also called snow fences or snow brakes) hold the snow on the roof so it melts gradually instead of sliding all at once.
Three guard types are common:
- Pipe-style snow guards: horizontal metal bars mounted on brackets, running across the roof at intervals. They handle heavy snow loads and are standard in high-snow regions. Spaced every 3–6 m (10–20 ft) down the slope.
- Pad-style snow guards: small aluminum clamps that grip standing-seam panel ribs. Lighter duty, suitable for lower slopes and moderate snow.
- Fence-style snow barriers: continuous rail systems that cover a wider band near the eave. Used where maximum retention is required.
The spacing and capacity depend on roof pitch, snow load region, and panel type. A roof in a heavy snow region (over 150 cm / 60 in annual snowfall) may need double rows of pipe guards. A light-snow region may use pad-style guards at the eave only.
Table 2 compares snow guard types. For door and window protection below the eave, see doors and windows. For gutter drainage design that snow guards feed into, read steel building gutter drainage.
Table 2: Snow Guard Types and Application
| Guard Type | Roof Pitch Range | Load Capacity | Installation Method | Best For |
|---|---|---|---|---|
| Pipe-style | 3:12–12:12 | High (up to 200 psf) | Bracket clamp to seam | Heavy snow, steep slopes |
| Pad-style | 2:12–6:12 | Medium (50–100 psf) | Clamps to standing seam | Light snow, low slope |
| Fence-style | 4:12–12:12 | Very high | Continuous rail mount | Avalanche zones, walkways below |
psf = pounds per square foot. Always size guards for the design snow load, not the average year. Guards cost $25–$50 per linear meter ($8–$15/ft) installed.
Ice Dams Leak Through the Roof You Already Paid For.
We design steel roofs with the right insulation level, eave heating cable runs, and snow guard spacing for your snow region. The structure passes ASCE 7—and the roof stays dry through every thaw-freeze cycle.
Gutter Heat Trace and Downspout De-Icing
Even with eave cables, meltwater must travel through the gutter and downspout to the ground. Gutter heat trace is the third pillar of this roof ice dam mitigation system. If the gutter itself is cold, water refreezes inside it, forming an ice plug that backs water up under the roof edge.
Gutter heat trace addresses this directly. Heating cable is laid inside the gutter run, typically at 10–30 W/m (3–9 W/ft), following the bottom of the gutter in a serpentine pattern. A vertical 1–2 m (3–6 ft) heated section extends into each downspout outlet to prevent ice blockage at the transition.
The control system matters. A thermostat paired with a moisture (melt) sensor activates the circuit only when the temperature is near freezing and moisture is present. Without this control, the heater runs all winter, wasting energy. A well-controlled system uses power for roughly 50–100 hours per season, not continuously.
The drainage system itself should be sized for meltwater flow, not just rainfall. Gutters should be wider and downspouts larger (minimum 100 mm / 4 in diameter) to accommodate ice chunks. Leaves and debris must be cleaned from gutters before winter; mixed with ice, they form the worst blockages.
For gutter design fundamentals, see steel building gutter drainage. For windstorm preparation that complements snow-season readiness, read hurricane preparation.
Heat trace keeps the trough open in winter, but it does not fix a gutter whose slope has settled to flat. Seasonal de-icing works hand in hand with gutter slope re-check and downspout flow testing—run a string line every two years, flush the trough annually, and confirm the 1% grade toward each outlet so melted snow actually reaches the heated section.
Manual Snow Removal and Roof Safety
When accumulated snow approaches the design load, active heating and retention are not enough—manual removal is required. The threshold is typically 80% of the design snow load: once the roof carries that much additional snow, remove it symmetrically.
Removal rules protect both the workers and the roof:
- Never use metal shovels on steel roof panels. A steel blade scratches the galvanized or painted finish, creating a corrosion initiation point. Use plastic or rubber-blade roof rakes from the ground when possible.
- Leave 15–30 cm (6–12 in) of base snow. Complete removal exposes the panel surface to mechanical damage and thermal shock. The remaining layer insulates the roof and prevents accidental surface gouging.
- Remove symmetrically from both sides of the ridge. Removing snow from one side only creates an unbalanced load that can overstress the opposite slope.
- Use fall protection. Roof workers wear harnesses attached to a lifeline along the slope. The area below the removal zone is barricaded; falling ice and snow are the leading cause of injury during roof removal.
Table 3 summarizes removal safety guidelines. For wind load context that affects how panels behave under uneven snow, see steel structure wind load deep dive. For roof refurbishment after years of snow season cycling, read steel roof refurbishment.
Table 3: Snow Removal Safety Guidelines
| Action | Timing | Equipment | Risk Level | Notes |
|---|---|---|---|---|
| Monitor snow depth | Weekly in season | Measuring stick, scale | Low | Track accumulation vs design load |
| Roof rake from ground | Light accumulation (< 30 cm / 12 in) | Telescopic roof rake | Low | No roof access needed |
| Manual roof removal | At 80% of design load | Plastic blades, harness | High | Symmetric removal only |
| Downspout de-icing | When gutter plug detected | Heat trace, hot water | Medium | Never use open flame on roof |
| Post-storm inspection | After each major storm | N/A | Low | Check for new ice dams, panel damage |
Symmetric removal prevents eccentric loading. A roof loaded unevenly on one side can twist the frame and damage connections that were not designed for torsion.
Cost Overview and Regional Considerations
Steel roof ice dam snow mitigation costs scale with roof area and severity:
- Heating cable system (materials plus installation): $30–$60 per linear meter ($9–$18/ft).
- Pipe-style snow guard system: $25–$50 per linear meter ($8–$15/ft).
- Gutter heat trace: $20–$40 per linear meter ($6–$12/ft).
- Annual electricity for a 100 m (330 ft) roof over a 3–5 month melt season: $200–$800.
Regional adaptation is essential. Heavy snow regions (over 150 cm / 60 in annual snow) need R-40 insulation, full eave heating, and double-row pipe guards. Moderate snow regions (50–150 cm / 20–60 in) need R-30 insulation, eave heating, and single-row guards. Light snow regions need only R-25 insulation and periodic manual removal.
For roof leak repair after ice-dam damage, see steel roof leak remediation. For energy efficiency upgrades that reduce heat loss through the roof, read steel building energy efficiency upgrade.
Conclusion
Steel roof ice dam snow mitigation starts with the root cause: interior heat loss melting roof snow, running to a cold eave, and refreezing into a dam. The fundamental fix is insulation—keep the roof deck cold. The remedial measures are eave heating cables, gutter heat trace, and snow guards that prevent slab avalanches. Manual removal, when needed, must be symmetric, plastic-bladed, and leave a protective base layer. Steel roofs ice up faster than concrete roofs because the thin panels have no thermal mass—so they demand proactive mitigation, not reactive patching.
The Snow Load Is Designed. The Ice Dam Isn't.
We design steel roofs for your snow region: insulation that stops heat loss, eave heating cables that prevent ice dams, and snow guards that stop slab avalanches. The structure passes code—and stays dry through every thaw.
🏭 Explore: Steel Warehouse · Steel Shed
About the Author
Senior Structural Engineer
With over 20 years of hands-on experience in steel structure design and prefabricated building engineering, our in-house senior structural engineer has personally contributed to more than 500 steel building projects—including warehouses, industrial factories, aircraft hangars, agricultural buildings, and commercial structures. The focus is on translating design codes such as AISC 360, ASCE 7, and Eurocode 3 into buildable, cost-effective steel solutions that balance structural performance, fabrication efficiency, and total project cost.
Learn more about our engineering team
Case Example
A 1,800 m² (19,400 sq ft) agricultural equipment dealership in northern Minnesota experienced repeated ice-dam leaks along the standing-seam roof eave during its first winter, despite the roof being engineered for 35 psf (1.7 kN/m²) design snow load. The root cause was under-insulation at R-19, which allowed interior heat to melt roof snow and refreeze at the cold eave. The retrofit solution combined three measures: first, upgrading roof insulation to R-40 with rock wool; second, installing self-regulating heating cable at 25 W/m (7.6 W/ft) along the 48 m (157 ft) eave and inside gutters; and third, adding double-row pipe-style snow guards at 4.5 m (15 ft) intervals down the 4:12 slope. After the first full winter, no interior leaks were reported, and seasonal heating electricity ran $620—well within the $400–$800 budget. The structural snow load basis is detailed in our snow load design guide; for drainage design, read steel building gutter drainage.
Frequently Asked Questions
Q1: Why do steel roofs get ice dams more than concrete roofs?
Steel roof panels are thin and lightweight—heat passes through them quickly. When interior warmth melts snow on the upper roof, water runs down to the cold eave, which refreezes rapidly because the steel has no thermal mass. Concrete roofs absorb heat slowly and release it gradually, so the eave stays warmer and ice dams form less often. Adequate roof insulation (R-30+) is the first defense; heating cables are the backup.
Q2: Where should roof heating cables be installed?
Heat tracing should run along the eave edge 300–600 mm (12–24 in), inside gutters and downspout outlets, and across valleys where water converges. Cable power is 10–50 W/m (3–15 W/ft). A thermostat with moisture sensor should activate the circuit only when temperatures are near freezing and moisture is present—otherwise energy costs run $200–$800 per season for a 100 m (330 ft) roof.
Q3: Do I need snow guards on a steel roof?
If your roof pitch exceeds 3:12 and you receive more than 50 cm (20 in) of annual snow, yes. A sudden slab avalanche from a standing-seam steel roof can injure people, damage equipment, and crush vehicles. Pipe-style snow guards are spaced every 3–6 m (10–20 ft) down the slope; pad-style guards work on lighter snow loads. They cost $25–$50 per linear meter ($8–$15/ft).
Q4: How do I remove snow from a steel roof without damaging it?
Use a plastic or rubber-blade roof rake from the ground if possible. Never use metal shovels on steel roof panels—they scratch the galvanized or painted finish and start corrosion. Remove snow symmetrically from both sides of the ridge to avoid eccentric loading, and leave 15–30 cm (6–12 in) of base snow to protect the roof surface. If snow exceeds 80% of the design snow load, hire a licensed roofer with fall protection.
Q5: How much does a complete steel roof ice dam mitigation system cost?
For a typical 1,000 m² (10,760 sq ft) industrial roof, expect $3,000–$8,000 for eave heating cables, $1,500–$4,000 for pipe-style snow guards, and $500–$1,500 for gutter heat trace, plus $200–$800 in annual electricity. Total installed cost typically runs $5,000–$15,000, depending on roof area, pitch, and snow region. Proper insulation upgrades reduce the required cable length and are the highest-ROI first step.
Reference Links
- ASCE 7 Snow Load Provisions — American Society of Civil Engineers standard covering minimum design snow loads and roof configuration factors that mitigation measures are built upon.
- IEEE 515 Heating Cable Standard — IEEE standard for resistance heating cable systems, covering installation, control, and safety requirements for roof and gutter heat trace applications.
steel-building-emergency-response-business-continuity
steel-building-structural-health-monitoring